The navigation menu is built using twitter bootstrap and uses a modified version of wp-bootstrap-navwalker class by twittem. Using it very simple. You do not need to do any programming on your end, just add a menu using Appearance [icon type=”glyphicon-arrow-right”] Menu and set it to the primary menu location of the theme.
You can however, customize various components to add more styling. Read more to learn how.
Adding a logo
Logo is managed over WordPress custom header. Simply go to Appearance [icon type=”glyphicon-arrow-right”] Header and upload a logo png of size 200X50.
If you remove header image, then the default site title will be used.
Creating a Menu
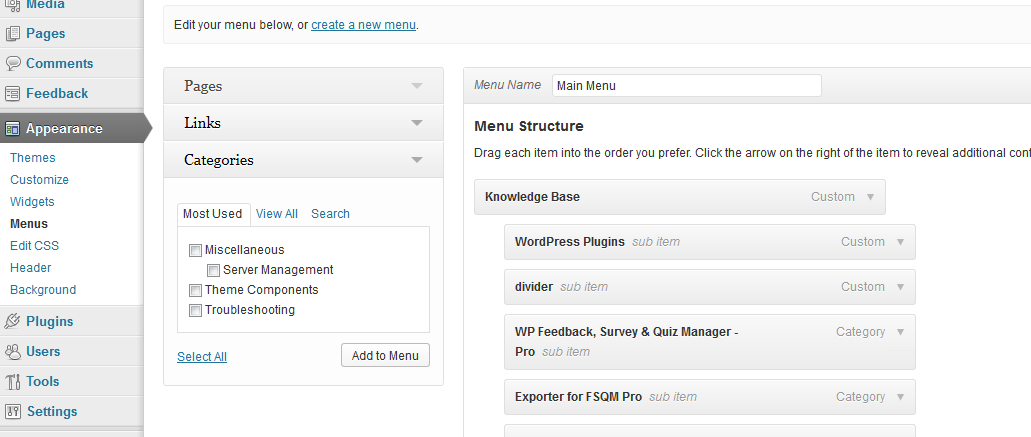
- Start creating a menu by going to Appearance [icon type=”glyphicon-arrow-right”] Menu.
- Save your menu once you are done.
- Assign the location “Primary Menu” to it.
That’s it.
Customizing the Menu
There are many ways to customize and add bootstrap components to the menu. All of them are given below.
Adding Icons to any element
Both glyphicons and icomoon icons are available. To add any icon, put the icon class inside the “Link Relationship (XFN)“. For a list of available icon classes, check this.
[toggles class=”yourcustomclass”]
[toggle title=”If you can not see Link Relation XFN”]
You need to enable it from the Screen Options. On the top right corner of your screen click on the button (beside the Help) that says Screen Options and enable Link Relation XFN.
[/toggle]
[/toggles]
Adding Dividers between items

Add a link menu item with URL # and Link Text or Title Attribute of divider.
Adding Dropdown Headers
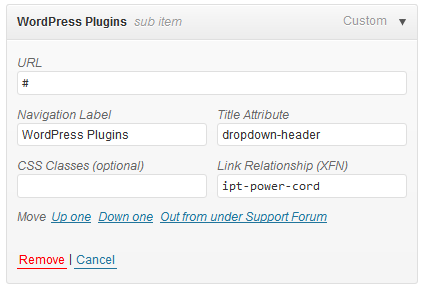
Add a new link with URL of # and a Title Attribute of dropdown-header.
Adding Disabled Links

To any element, set the Title Attribute to disabled.
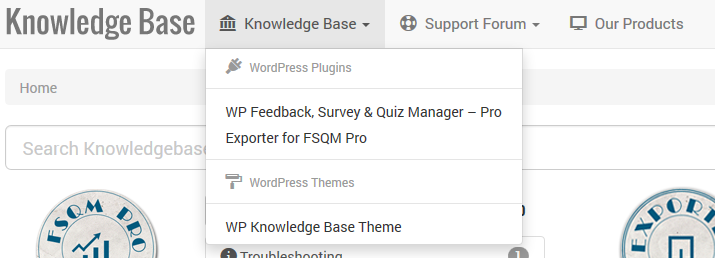
For a demo, check the Nav Menu of this site.
